
Unlock Your Business Potential: What is Meta Business Manager?
Centralize Your Digital Marketing Efforts
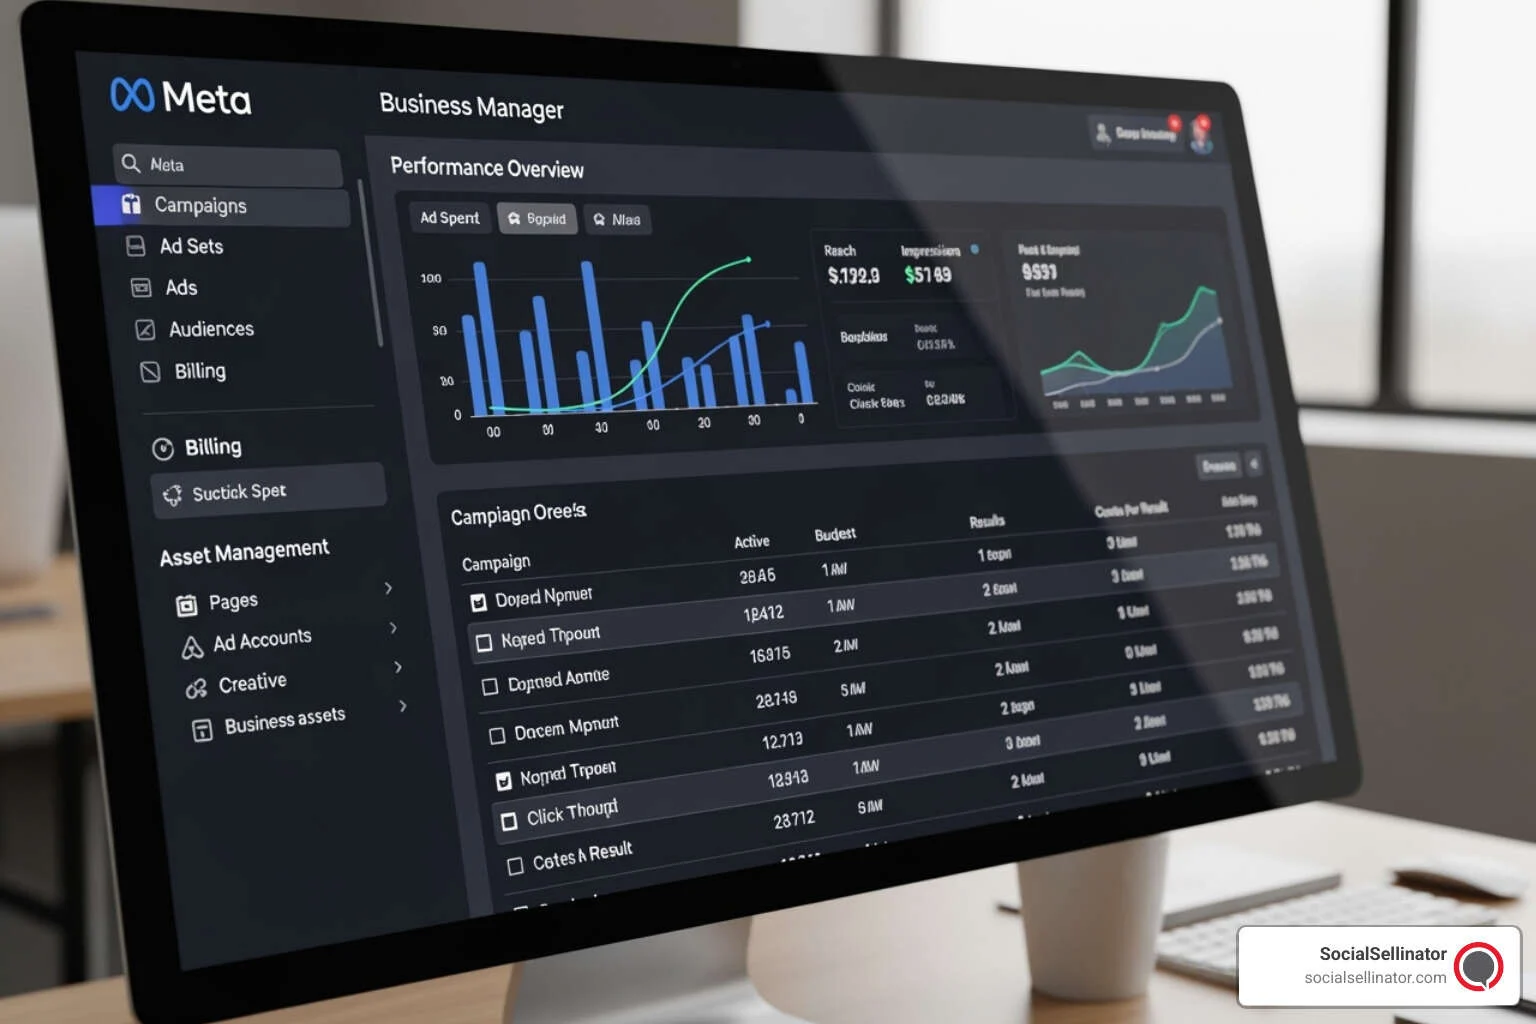
Facebooks business manager, now officially Meta Business Manager, is a free, centralized platform for businesses to manage their Facebook Pages, Instagram accounts, ad campaigns, and team permissions from a single, secure location. It’s the essential control center for any business running Facebook ads or managing multiple social media accounts.
The primary benefit is keeping your business activities separate from your personal profile while maintaining full control. If you’ve ever struggled with sharing login credentials, coordinating with team members, or worrying about losing access to business assets when an employee leaves, this tool solves those problems.
Meta Business Manager creates a professional workspace where you can grant specific permissions, maintain ownership of your assets, and scale your social media operations. It’s indispensable for running paid advertising campaigns, working with external agencies, or managing multiple brands, providing the structure needed for sophisticated digital marketing strategies.
What is Meta Business Manager and Why Do You Need It?
Meta Business Manager is your digital marketing command center, solving the chaos that comes with mixing personal and professional social media management. It brings all your Facebook Pages, Instagram accounts, advertising campaigns, and team members under one secure roof. Think of it as the difference between running a business from your garage versus a proper office with clear structure and security. The platform is completely free to use; you only pay for your actual advertising spend, giving businesses of all sizes access to professional-grade management tools.
Most importantly, Business Manager keeps your assets safe and organized. No more sharing sensitive login information or worrying about losing access to your ad account when an employee leaves. Everything stays professionally separated and managed by the business.
The Core Benefits of Using Business Manager
The switch to Meta Business Manager brings remarkable advantages for serious digital marketers.
- Asset Security and Ownership: Your company owns the assets—like your Page and ad account—not individual employees. If a team member leaves, your business retains complete control, making transitions smooth and stress-free.
- Controlled Access and Permissions: Instead of sharing passwords, you can assign specific roles with precise permissions. A content creator can have posting privileges without accessing billing information, preventing costly mistakes and maintaining security.
- Efficiency and Focus: With everything in one organized dashboard, team members can focus on their responsibilities without the distraction of personal Facebook feeds. This streamlined approach dramatically improves productivity.
- Effortless Scalability: As your business grows, adding new Pages, ad accounts, or team members takes just a few clicks. The platform scales with you, whether you’re managing one brand or coordinating campaigns across multiple locations.
- Professionalism: Using Business Manager signals to partners and agencies that you take your digital marketing seriously. This structured approach leads to better organization and more consistent results.
Who Benefits Most from Business Manager?
While any business with a social media presence can benefit, certain users find it game-changing. Small business owners gain a clean, professional workspace separate from their personal profiles. Social media managers and marketing teams get the control needed to manage multiple clients or brands efficiently. E-commerce businesses leverage advanced features like product catalogs and Meta Pixel integration for sophisticated retargeting campaigns. Digital marketing agencies like SocialSellinator find it essential for managing dozens of client accounts while maintaining clear boundaries and permissions. Finally, multi-location businesses can manage numerous pages from one central hub.
Meta Business Manager vs. Meta Business Suite
Many people confuse Business Manager and Business Suite. While they work together, they serve different purposes. Meta Business Manager is your behind-the-scenes organizational powerhouse. It’s where you set up the foundation: asset ownership, user permissions, and advertising infrastructure. Think of it as your digital headquarters for strategic oversight and security. Meta Business Suite, on the other hand, is your day-to-day operations center. It’s where you create posts, respond to messages, and schedule content. Its interface is more streamlined for daily content management and community engagement.
For serious advertising, Business Manager is essential. It owns your ad accounts and provides access to advanced tools for detailed targeting and tracking. Most businesses use both: Business Manager for the secure foundation and advertising power, and Business Suite for daily content and community management.
A Step-by-Step Guide to Setting Up Your Account
Setting up your facebooks business manager account is a straightforward process that lays the foundation for your digital marketing command center. Taking the time to do this properly will save you countless headaches later.
Step 1: Create Your Business Manager Account
First, go to business.facebook.com and click the “Create Account” button. You will be prompted to log into your personal Facebook account for verification, but rest assured your business activities will remain completely separate.
Enter your business name, your name, and a business email address. This email is crucial for verification and important communications, so use one you check regularly. You will also need to provide your legal business name, physical address, phone number, and website to help Meta verify your business. Finally, check your inbox for a verification email and click the link to complete the initial setup. You can create up to two Business Manager accounts per person, so ensure you’re setting it up for the correct business entity.

Step 2: Add Your Facebook Pages and Instagram Accounts
With your account created, it’s time to add your assets. Steer to “Business Settings” (usually a gear icon). In the “Accounts” section, click on “Pages.” You have three options:
- Add a Page: If you are already an admin, you can claim the Page and bring it into your Business Manager. This is for pages your business owns.
- Request Access to a Page: If you are managing a client’s page, use this option to gain access without claiming ownership.
- Create a New Page: If you don’t have a page yet, you can create one directly within Business Manager.
Next, go to “Instagram Accounts” in the same section. Click “Add” and log in with your Instagram credentials to connect the account, enabling you to manage it and run ads.
Step 3: Add Your Ad Account
Your ad account is the engine for your paid campaigns. In Business Settings, go to “Accounts” and then “Ad Accounts.” Again, you have three choices:
- Add an Ad Account: Claim an ad account you already own. This action is permanent and the account cannot be removed from the Business Manager.
- Request Access to an Ad Account: The standard approach for agencies and consultants to manage a client’s ad account while the client retains ownership.
- Create a new Ad Account: Start fresh by creating a new ad account. Be sure to select the correct time zone and currency, as these cannot be easily changed. You will also need to set up a payment method (credit card, PayPal, etc.) to ensure your campaigns can run without interruption.
Managing Your Team, Assets, and Permissions
Once your core assets are in place, the real power of facebooks business manager emerges through team management. This is where the platform becomes a secure and efficient collaboration hub, allowing you to scale your digital marketing efforts without compromising security. You can grant someone access to create ads without letting them see billing information, or allow a content creator to post on your Page while restricting access to other assets.
Understanding Roles and Permission Levels
Business Manager uses a tiered permission system to give everyone the exact access they need.
- Admin Access: This is the highest level of control. Admins can manage every aspect of the account, including users, assets, and billing. This role should be limited to a few trusted individuals.
- Employee Access: This is the standard role for most team members. Employees can only work on the specific assets assigned to them and cannot change core business settings.
Beyond these, there are specialized roles like Finance Editor (manages billing), Finance Analyst (views financial data), and Developer (accesses technical integrations). The system is powerful because you can customize permissions for each asset, giving a user different levels of access to different Pages or ad accounts based on their responsibilities.
How to Add People and Partners to Your Business Manager
Adding team members is a secure process. To add internal team members, go to Business Settings, select “People,” and click “Add.” Enter their business email address and assign them a role (usually Employee). On the next screen, you can assign them to specific assets (like a Page or ad account) and set their permission level for each one.
To add external partners like a digital marketing agency, go to the “Partners” section. You will need your partner’s Business Manager ID to grant them access to your assets. This system is ideal for collaboration, as your business retains full ownership of all assets while the agency gets the specific permissions needed to manage your campaigns. It’s a best practice to regularly review user permissions and remove anyone who no longer needs access.
Using Business Asset Groups for Organization
As your business grows, managing permissions can become complex. Business Asset Groups solve this by letting you bundle related assets (Pages, ad accounts, Pixels) together. For example, you could create a group for a specific brand or region. Instead of assigning permissions to individual assets, you can assign a person to the entire group, which streamlines onboarding and ensures consistent access levels. This organizational clarity is key for scaling your marketing efforts efficiently.
Advanced Features and Best Practices for Your Facebooks Business Manager
With the fundamentals in place, it’s time to open up the full power of your facebooks business manager. These advanced features are what turn your digital marketing efforts into a revenue-generating machine and keep your assets secure.
Setting Up and Using the Meta Pixel
The Meta Pixel is a small piece of code you place on your website to track visitor actions. It’s your secret weapon for understanding what happens after someone clicks your ad. Without it, you’re flying blind. The Pixel connects your ad spend to actual business results, like purchases or sign-ups, allowing you to prove your return on investment.
To set it up, go to Events Manager in your Business Manager, click “Connect Data Sources,” and choose “Web.” Name your Pixel and enter your website URL. Meta provides several installation options. If you use a platform like Shopify or WordPress, there are simple partner integrations. Otherwise, you can manually add the code snippet to your website’s header. Once installed, the Pixel collects data that allows you to create powerful custom audiences for retargeting (e.g., showing ads to people who abandoned their cart) and find new customers by creating lookalike audiences based on your best existing ones. It’s best to install the Pixel immediately, even before you run ads, to start collecting valuable data.

Best Practices for Securing Your Account
Your Business Manager account holds the keys to your digital kingdom, and a security breach can be devastating. Follow these essential best practices:
- Enable Two-Factor Authentication (2FA): This is your most important line of defense. Require it for every person with access to your Business Manager.
- Regularly Review Permissions: Periodically check who has access and what they can do. Immediately revoke access for former employees or partners.
- Assign Backup Admins: Have at least one other trusted person as a backup admin in case the primary admin’s account is compromised or they leave the company.
- Use Strong, Unique Passwords: Avoid simple passwords. Use a password manager to create and store complex credentials.
- Beware of Phishing: Be suspicious of emails claiming to be from Meta. Never click suspicious links; instead, log in to your account by typing the URL directly into your browser.
Creating Your First Ad Campaign
With your account secure and your Pixel collecting data, you’re ready to create an ad campaign. From Ads Manager, click the “Create” button. The campaign structure is simple: Campaign (your objective), Ad Set (your audience, budget, and placements), and Ad (your creative).
Choosing the right campaign objective (e.g., Traffic, Leads, Sales) is critical, as Meta’s algorithm optimizes based on this choice. Next, define your audience using detailed demographic, interest, and behavior targeting. Finally, create your ad with high-quality images or video, a compelling headline, and a clear call-to-action. Successful advertising requires continuous monitoring and optimization. Use the data from your campaigns to refine your approach and improve results over time, a cornerstone of any effective PPC services and digital marketing strategy.
Frequently Asked Questions about Meta Business Manager
When businesses first adopt facebooks business manager, several common questions arise. Here are straightforward answers to the most frequent concerns.
Is Meta Business Manager free to use?
Yes, Meta Business Manager is completely free. There are no fees to set up an account, add assets, or use its management features. The only costs you incur are for the actual advertising campaigns you choose to run through your ad accounts.
How many Business Manager accounts can I create?
Meta allows each individual to create up to two Business Manager accounts. This limit is in place to prevent misuse and maintain the platform’s integrity. For most companies, a single Business Manager account is sufficient to manage all their assets.
What are common challenges and how can they be resolved?
While powerful, users can sometimes face challenges. Here are the most common issues and their solutions:
- Asset Ownership Problems: This occurs when a Page or ad account is tied to a former employee’s personal profile. The best prevention is to create all assets within Business Manager from the start. To resolve existing issues, you’ll need to contact Meta Business Support to request an ownership transfer.
- Ad Account Suspensions: These usually happen due to policy violations or payment issues. First, review Meta’s Advertising Policies. If you believe the suspension was a mistake, you can appeal it. Also, ensure your payment method is up-to-date.
- Access and Permission Issues: If a team member can’t access an asset, double-check their assigned role and permissions in Business Settings. Sometimes, clearing the browser cache or trying a different browser can resolve these glitches. If the problem persists, removing and re-adding the user often works.
For any persistent issues, Meta’s Help Center is a valuable resource. If you need further assistance, you can contact Meta Business Support directly through your account.
Conclusion: Take Control of Your Social Media Presence
Mastering your facebooks business manager is more than a technical task—it’s a strategic move to secure and control your business’s online future. It provides the solid foundation needed to keep your entire social media marketing strategy stable, organized, and scalable. By centralizing your Pages and accounts, managing team permissions securely, and leveraging advanced tools like the Meta Pixel, you transform your social media efforts from chaotic to professional.
Instead of juggling logins and worrying about security, you have a system that supports growth. For small businesses, this means a clear separation between personal and professional activities. For larger companies, it enables seamless collaboration and sophisticated, data-driven advertising campaigns that deliver measurable results.
However, having the right tools is only the beginning. The real opportunity lies in using them to execute a marketing strategy that connects with your audience and drives business goals. This is where an experienced partner can make all the difference. At SocialSellinator, we help businesses move beyond setup and leverage these powerful tools to achieve tangible outcomes, from generating leads to increasing sales.
Take your social media strategy to the next level with our management services. We combine technical expertise with creative strategy to help you maximize every feature of your Business Manager setup, handling the complexities so you can focus on running your business.
Headquartered in San Jose, in the heart of Silicon Valley and the San Francisco Bay Area, SocialSellinator proudly provides top-tier digital marketing, SEO, PPC, social media management, and content creation services to B2B and B2C SMB companies. While serving businesses across the U.S., SocialSellinator specializes in supporting clients in key cities, including Austin, Boston, Charlotte, Chicago, Dallas, Denver, Kansas City, Los Angeles, New York, Portland, San Diego, San Francisco, and Washington, D.C.